In the first article of this series I described how to run openHAB on your Synology DSM using Docker with shared config and private data. Now it’s time to talk about persistence using MySQL.
We’ll add persistence to demonstrate the connection and fill some data into the database. Same as for openHAB you have to decide if you want to use simple installation or Docker. But when you lookup how often (or rare) the Synology database seems to get updates, I prefer the docker version. For this, open your docker application again and search for MySQL image. I’ll use latest 5.7 image for my setup. Also, search for phpMyAdmin and start a download of latest tag.

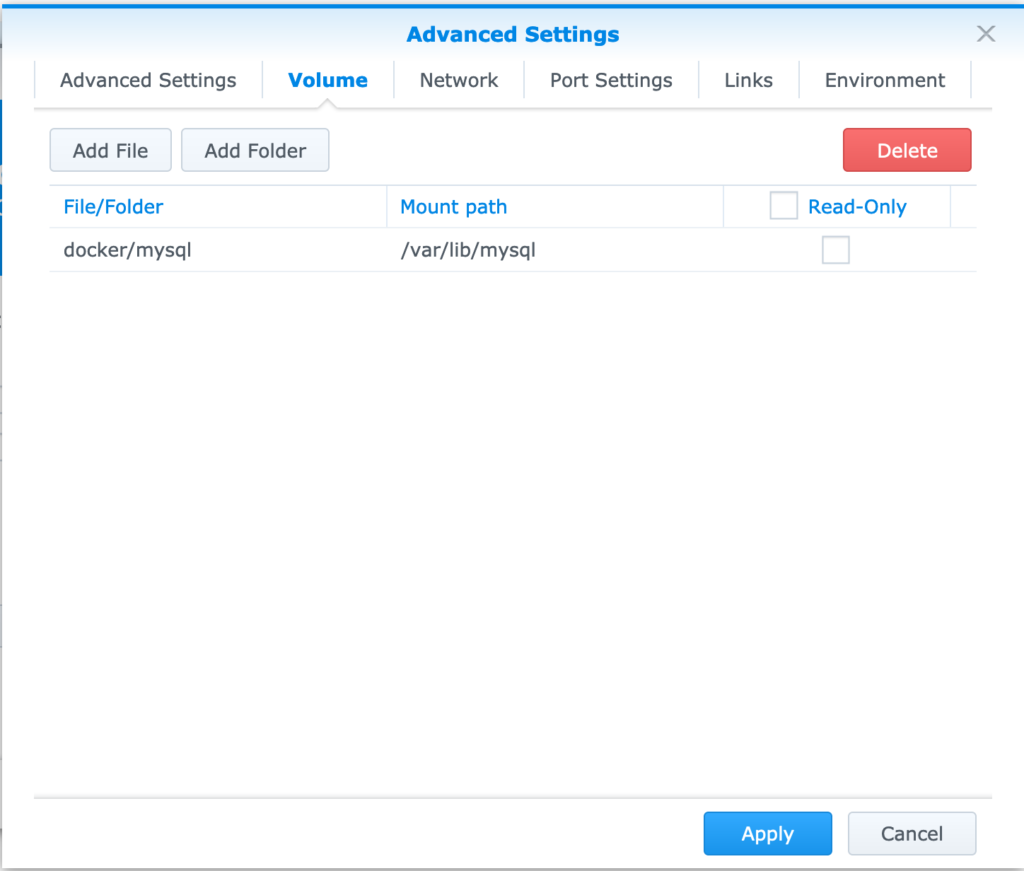
Start the launch process for a MySQL container and choose Advanced Settings. First you have to add a volume under the Volume tab. If you prefer my way of setup, create mysql directory in your Docker folder. The internal path in your container is /var/lib/mysql.
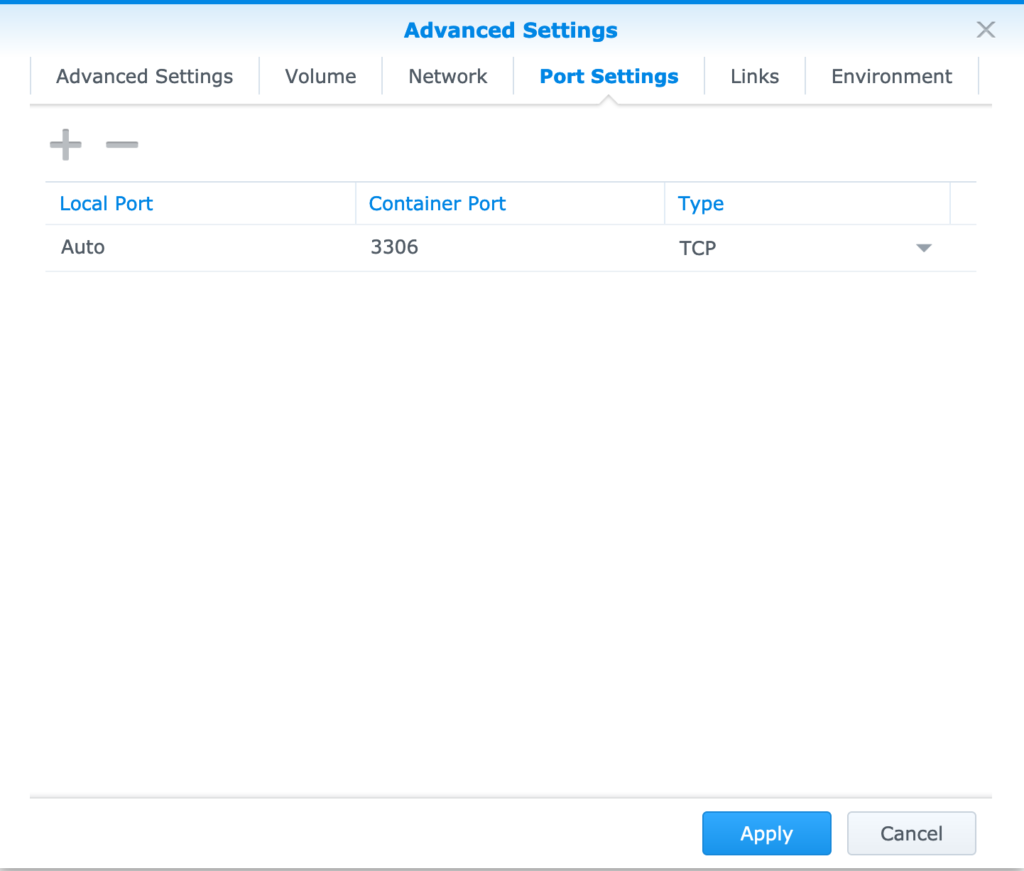
Remove the port mapping for 33060.
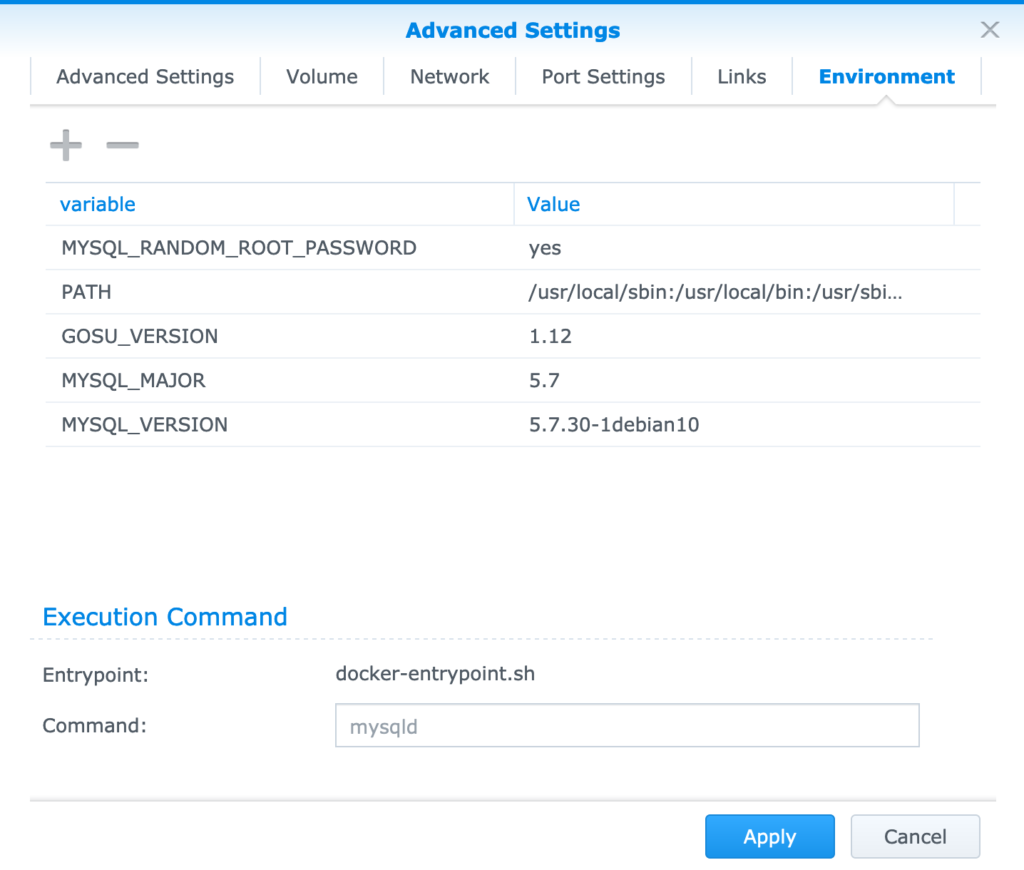
According to the image documentation you either need to provide a fixed root password or let mysql generate a random one at every start. I prefer the second method. Create an environment variable MYSQL_RANDOM_ROOT_PASSWORD and set it to yes.
Apply the settings and start the container. In the container tab, double click the running mysql container and open the log tab. Search for the password – the line should like:
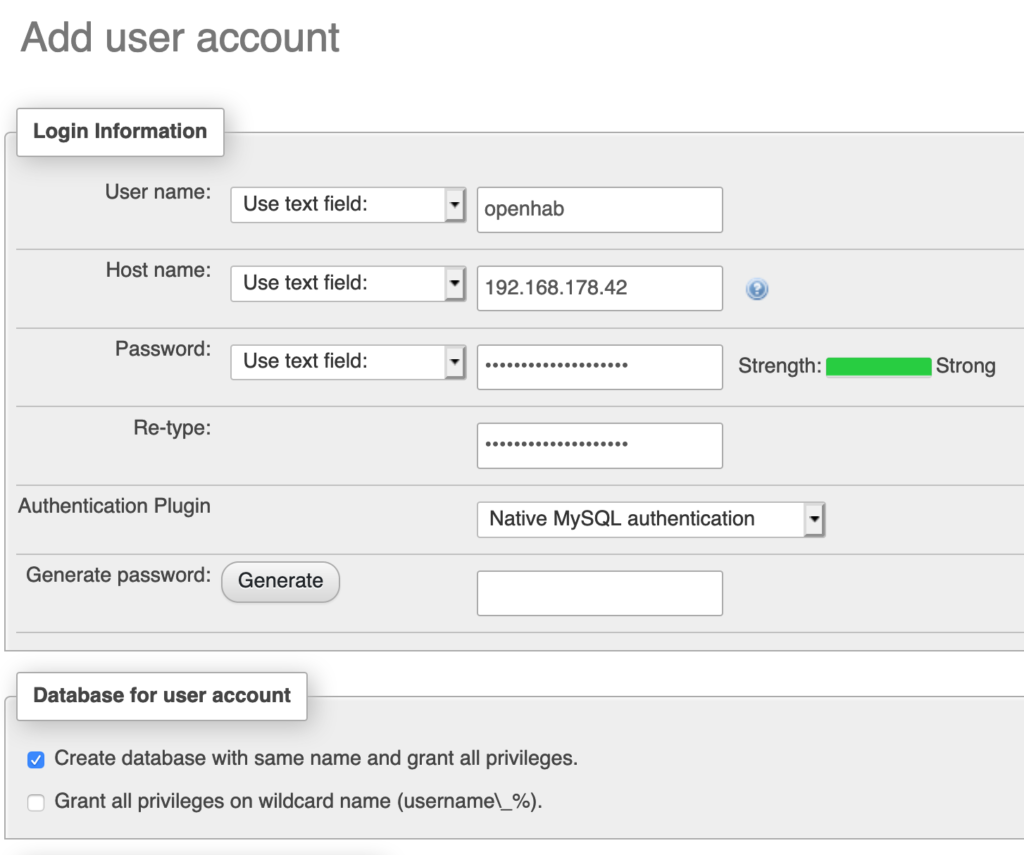
2020-04-29 19:25:49+00:00 [Note] [Entrypoint]: GENERATED ROOT PASSWORD: asdf1234asdf1234asdf1234asdf1234Create a container from phpMyAdmin image and define PMA_HOST as environment variable with the IP of your NAS. You can either define a static external port for your container or use auto mapping and look up the port. Navigate to your NAS’s IP with the port. Log in as root with the generated password you grabbed before. In the top bar, select User accounts and choose add user account in the middle. Create your openhab user, limit the host to the IP of your NAS let phpMyAdmin create a databases with granted rights for this user. Choose a secure password since your MySQL instance is reachable via network2.
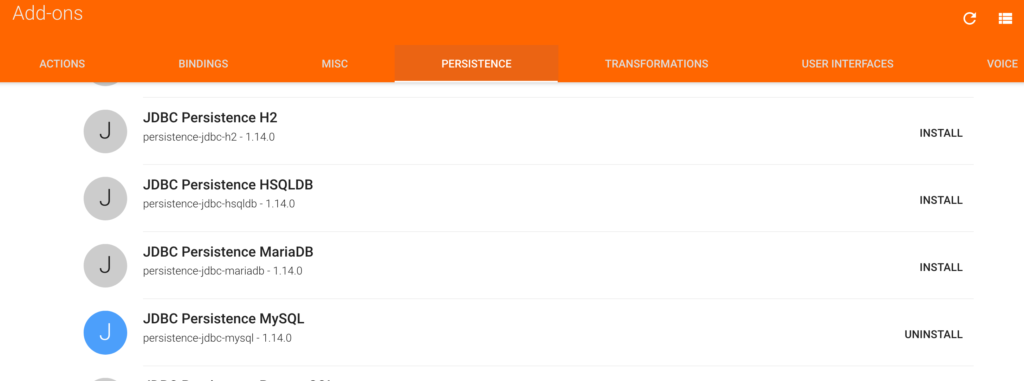
Now open your openHAB PaperUI and go to bindings. Install JDBC Persistence MySQL under the – guess what – persistence tab.
Next, you need to configure the connection. Open your openHAB configuration folder. Create (or edit) services/jdbc.cfg.
url=jdbc:mysql://192.168.178.42:3306/openhab
user=openhab
password=your_openhab_mysql_password

tableNamePrefix=Item
tableUseRealItemNames=true
tableIdDigitCount=0

reconnectCnt=0
waitTimeout=28800
Next, create (or edit) persistence/jdbc.persist.
Strategies {
everyHalfHour : "0,30 0 * * * ?"
everyHour : "0 0 * * * ?"
everyDay : "0 0 0 * * ?"
default = everyChange
}
Items {
pEveryHalfHour : strategy = everyHalfHour, restoreOnStartup
pEveryHour : strategy = everyHour, restoreOnStartup
pEveryDay : strategy = everyDay, restoreOnStartup
* : strategy = everyChange, restoreOnStartup
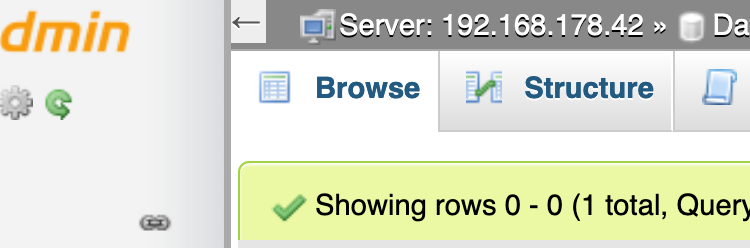
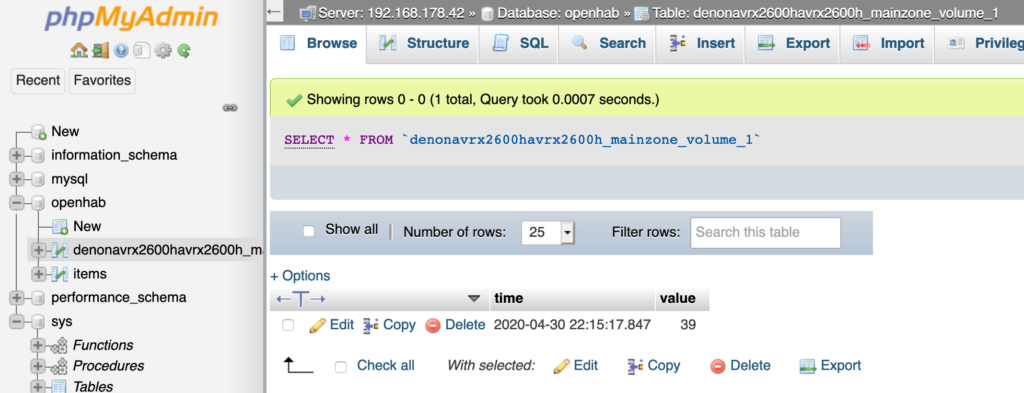
}Restart your openHAB Docker instance and edit some item values. When you check phpMyAdmin, you should see some tables.
Your persistence is working, but storing every single change. In the next article, I’ll explain the redirection of log files to Log Center.
Part 1: Use openHAB with Synology DSM
Part 2: MySQL persistence for openHAB
Part 3: Redirect openHAB logs to Log Center
Part 4: Scheduled database backups with DSM